
Hardening off seedlings means gradually getting young plants used to outdoor light, wind and temperature changes before transplanting. Start in a sheltered, shaded place, then increase exposure over roughly one to two weeks as the plants cope. University of Maryland Extension recommends this gradual approach. In India, choose the starting day from your crop’s needs and local weather, rather than treating October as suitable everywhere.
If you raised tomato, chilli or broccoli seedlings under cover, moving them straight onto an exposed balcony can be a big change. This guide helps you plan that transition, recognise when to slow down and prepare the final pot. It is a practical observation plan, not a tested schedule for every Indian city.
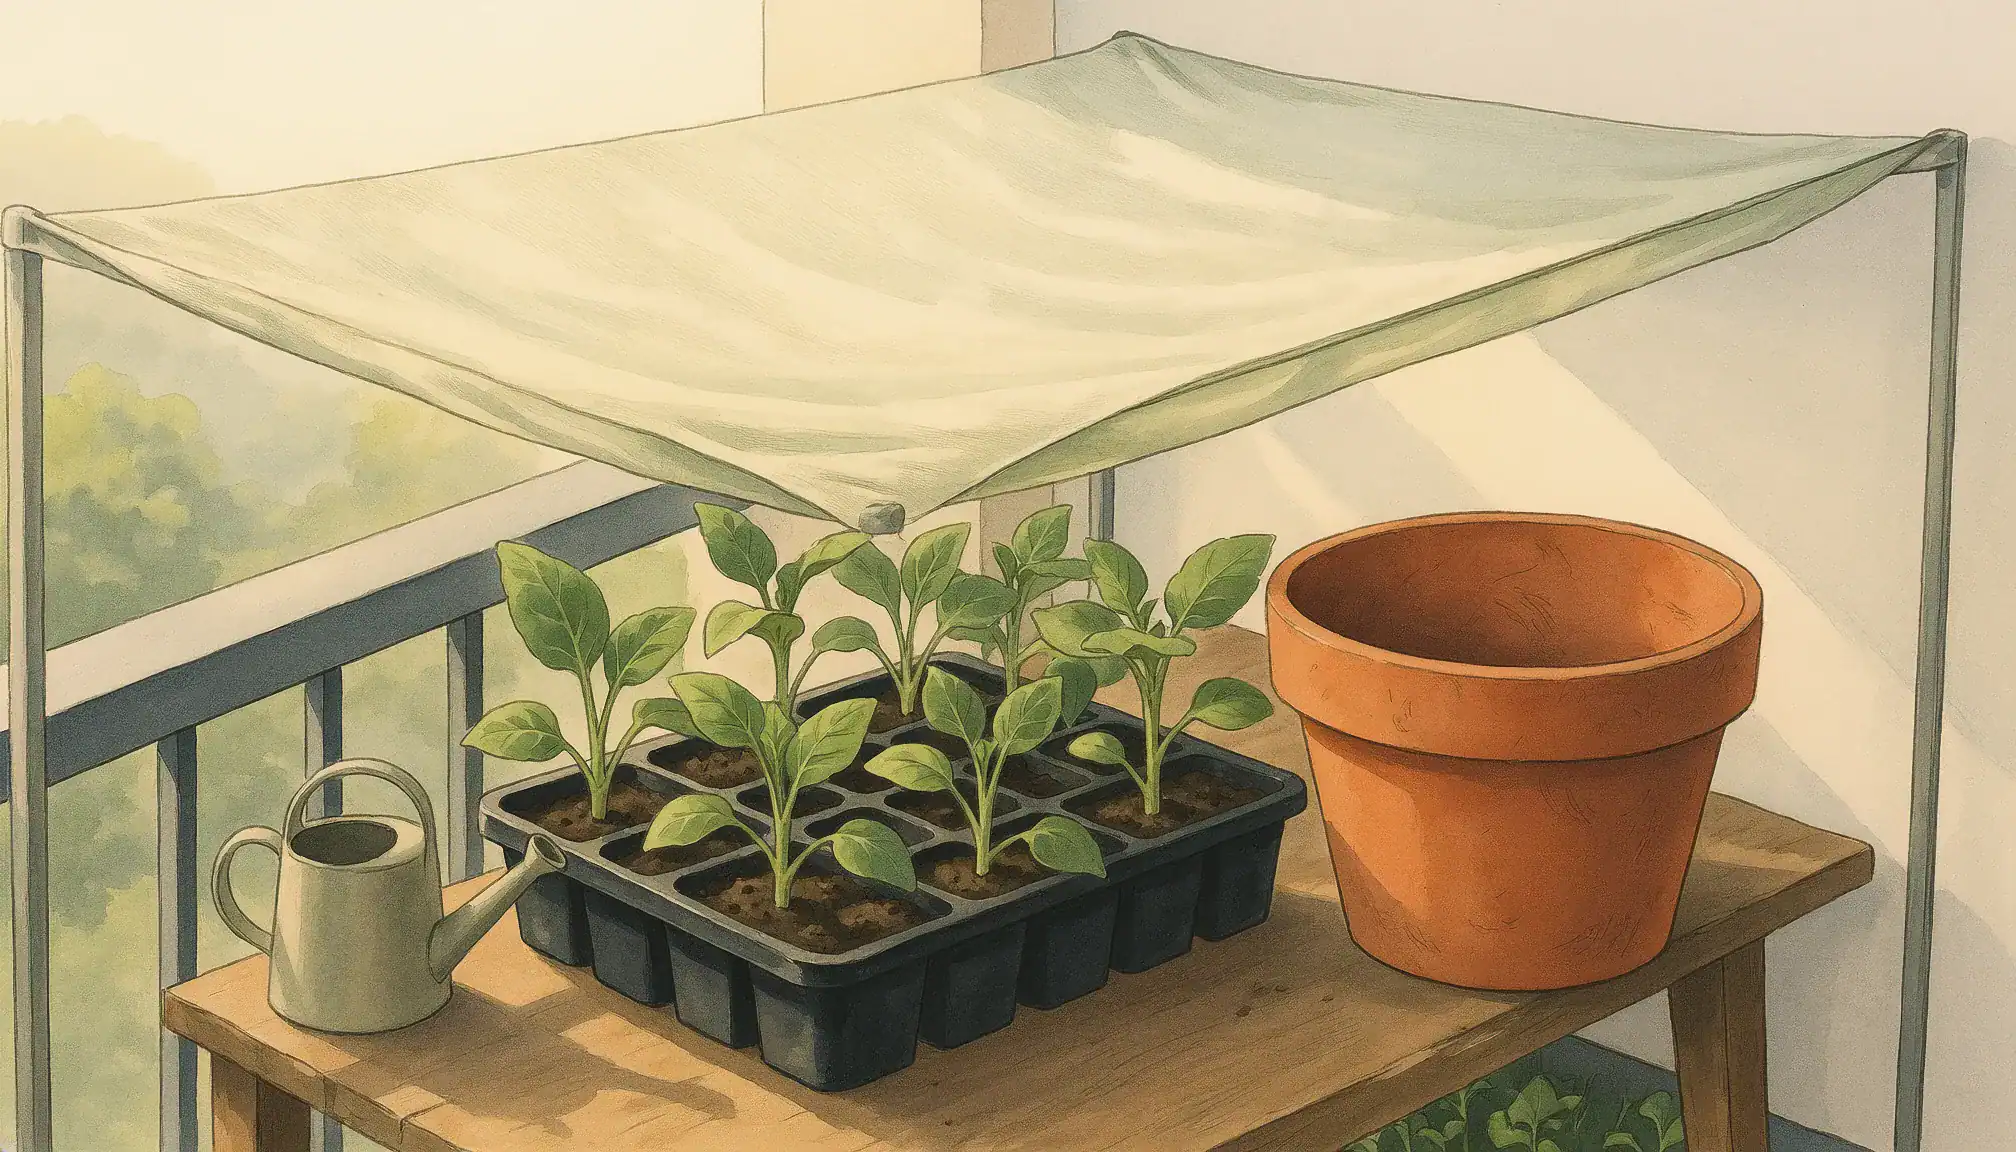
Which vegetable seedlings need hardening off?
Consider the change from the nursery position to the final growing position. Seedlings raised indoors, in a greenhouse or in a protected area may need gradual acclimatisation. The Royal Horticultural Society’s guide explains that an abrupt move from a protected environment can check growth.
- Home-grown seedlings under cover: plan the transition before planting them into outdoor pots.
- Nursery-bought seedlings: ask how they have been grown and whether they have already been acclimatised. Compare those conditions with your balcony.
- Plants already growing in the final outdoor position: assess the actual change you intend to make. Moving to a sunnier or windier spot is a different decision from leaving them where they are.
Hardening off applies to the move into different conditions. Choosing a transplanting age, thinning crowded seedlings and picking a container size are separate tasks. Use our seedling thinning guide and your seed packet’s crop instructions when those decisions arise.
What should you check before starting?
Choose a protected place you can reach easily
Start somewhere you can inspect and retrieve the tray without difficulty: within the balcony railing, on a stable low surface, with shelter from strong wind. Keep the tray accessible for watering. You should be able to move it back into protection if the conditions change.
Check the final pot’s sunlight using our balcony vegetable light guide. The aim is to approach that intended exposure gradually. Do not select a harsh position simply because it is the brightest spot available.
Check the seedlings and the forecast
Record the crop, sowing date, current position and intended planting position. Look over the leaves, stems and growing medium before the first session. If the tray already has a problem, keep a note of it so that later changes are easier to interpret.
Review daytime conditions and overnight lows. Pennsylvania Horticultural Society highlights strong wind, heavy rain and cold nights as potential stresses. The local forecast and the crop’s requirements should guide each session; a calendar date alone cannot do that.
A flexible hardening-off schedule for balcony seedlings
The progression below adapts the short sessions and gradual exposure described by PHS. Treat the stages as checkpoints. Repeat a stage or postpone the move when conditions or plant response call for it.
| Stage | Exposure to try | Decision before advancing |
|---|---|---|
| Days 1–2 | About 1–2 hours in sheltered shade, then return to protection | Check the plants during the session and again afterwards |
| Days 3–4 | About 3–4 hours outside, introducing a gentle sun period | Extend only if the previous exposure caused no concerning change |
| Days 5–6 | About 5–6 hours, progressing towards the intended growing position | Review moisture, weather and the tray’s stability |
| Days 7–14 | Work towards a normal day in the final conditions | Assess overnight suitability separately before leaving plants out |
Do not rush to meet a day number. RHS describes a longer two-to-three-week process for some tender plants, while Maryland advises beginning one to two weeks before planting. These are context-dependent guidelines, not numbers to average into a universal deadline.
Keep a simple record
Use this line in a notebook: date → position → time outside → sun and wind → moisture check → change noticed → next decision. Photograph the same tray before starting and after a session if you need a comparison. This routine helps you distinguish what you observed from what you assumed.
For example, if a short shaded session went well but the next day is windy, repeat a protected stage or wait for better conditions. An extra day is more useful than completing a checklist while the weather has changed.
How should you adapt hardening off to Indian weather?
The following checks help apply the general method locally. They do not prescribe transplanting dates or claim a tested exposure duration for each region.
- Northern plains as nights become cooler: check the forecast minimum and the crop’s local planting advice before extending exposure into the evening.
- Hot, dry inland balconies: start with a protected period you can monitor. Inspect the small cells’ moisture and avoid combining the first direct-sun session with a hot or windy spell.
- Warm coastal or humid southern locations: a mild night does not remove the need to assess sun, wind and rain. Keep the tray protected from heavy rain during the early stages.
- Hill locations: consider cold and frost risk before any overnight move. Acclimatisation does not turn a frost-sensitive vegetable into a hardy one.
- Sheltered urban balconies: check the actual tray position. Roof cover, walls and neighbouring buildings can make its exposure different from an open terrace nearby.
Indian research also shows why nursery protection needs local context. An ICAR-CIAH article on protected vegetable nurseries in hot arid conditions identifies extreme temperatures as a constraint in north-western India. It describes a specialised nursery system; its construction specifications are not a home-balcony hardening recipe.
How do you know when to slow down?
Check the tray during the first sessions. If leaves droop or develop a new damaged area, shorten the exposure and return the tray to shelter while you check moisture and conditions. Maryland Extension cautions against letting seedlings wilt or taking hardening so far that growth stops.
A visible symptom does not identify its cause on its own. Compare your notes: did it appear after the position changed, was the medium dry or wet, and did only one cell respond? Persistent decline needs crop-specific diagnosis or local nursery advice. Do not assume that every drooping seedling needs more water or fertiliser.
Should you deliberately dry seedlings out?
Avoid using severe drought as a way to “toughen” a plant. Maintain a workable watering routine and observe the medium. Hardening off should be a gradual environmental transition, not a challenge to see how much stress the seedling can survive.
What should you do before transplanting into pots?
Prepare the final container before removing a seedling from its cell. Review our container size guide and vegetable potting mix guide. Follow the crop’s planting instructions for depth and spacing.
University of Minnesota Extension recommends transplanting after acclimatisation on a cloudy day or in late afternoon. Its seedling-handling advice is to support the root ball and avoid grasping the stem. Apply those handling principles without importing Minnesota’s sowing calendar into India.
- Confirm the crop is ready. Use its packet or nursery guidance; do not assume all vegetables are ready at the same age.
- Set out everything first. Have the container, growing medium, water and crop label within reach.
- Support the root ball. Remove the plant gently from its cell, with minimal disturbance. Keep hold of the supported root ball while positioning it.
- Follow the crop’s planting depth. Tomato-specific techniques should not be applied automatically to every seedling.
- Check after planting. Observe moisture and plant response as it settles into the new container.
For tomatoes, continue with our tomato-in-pots guide; for peppers, use our chilli growing guide. Keep the transition record with your crop notes.
Frequently asked questions
How long does hardening off seedlings take?
Plan roughly one to two weeks for a gradual transition, and allow longer when the growing environment, crop or weather calls for it. The table is a starting plan. A seedling’s response and suitable planting conditions matter more than finishing on a fixed date.
Can I leave seedlings outside overnight?
Assess nights separately after the plants have managed daytime exposure. Check crop suitability, forecast lows, wind and rain. Bring them into protection if the overnight conditions are unsuitable; hardening does not make tender crops frost-proof.
Do nursery-bought seedlings need hardening off?
Ask the nursery whether they were grown under protection or already accustomed to outdoor conditions. Compare that environment with yours. Do not assume that buying a seedling proves it is ready for an exposed terrace.
Can I harden off seedlings on a balcony?
Yes, when it offers a stable sheltered starting position and you can control exposure. Keep trays safely inside the railing and choose sessions you can monitor. Check the final pot’s light before planning the move.
Is hardening off the same as thinning seedlings?
No. Thinning reduces crowding; hardening off prepares seedlings for a change in growing conditions. Use the relevant guide for each task instead of treating either as a substitute for the other.
Planning your next sowing? Compare tomato seeds or broccoli seeds after checking the crop’s local season, variety and space requirements. Start a tray only when you have a suitable place for the plants after the nursery stage.
Your next step: choose the protected starting spot, check the forecast and make a note of the first short session. Increase exposure from what your seedlings can manage.