Your plant is sending clear distress signals: roots poking out, soil drying fast, or droopy leaves. Even beginners can spot these. The solution is simple: repotting. With clear guidance, you can do it without risking your plant.
This step-by-step beginner’s guide covers everything: what signs to watch for, which tools and soil to use, how to repot correctly, and what to do once it’s done. No matter if you’re caring for indoor plants on a Mumbai balcony or a rooftop garden in Delhi, you’ll find clear, practical advice here—every step is written for you.
🚨 “Your Plant Is Trying to Talk to You” — Spot the Warning Signs Before It’s Too Late
Before you repot, confirm that your plant actually needs it. Not every struggling plant needs a new home — but these signs are a dead giveaway:
- Roots creeping out of the drainage hole — the most classic sign your plant has outgrown its pot
- Water drains instantly without being absorbed, running straight through the root ball
- Soil dries out unusually fast, even after a thorough watering
- Slow or stunted growth despite regular watering and sunlight
- The plant keeps tipping over because the roots are too heavy for the pot
- Salt and mineral crust forming on the soil surface — a sign that the soil is exhausted
If you notice two or more of these signs, your indoor plant is almost certainly root-bound and ready for a bigger home.
Quick Tip: Most plants need repotting every 1–2 years. Spring is the ideal time — right when the growing season kicks in.
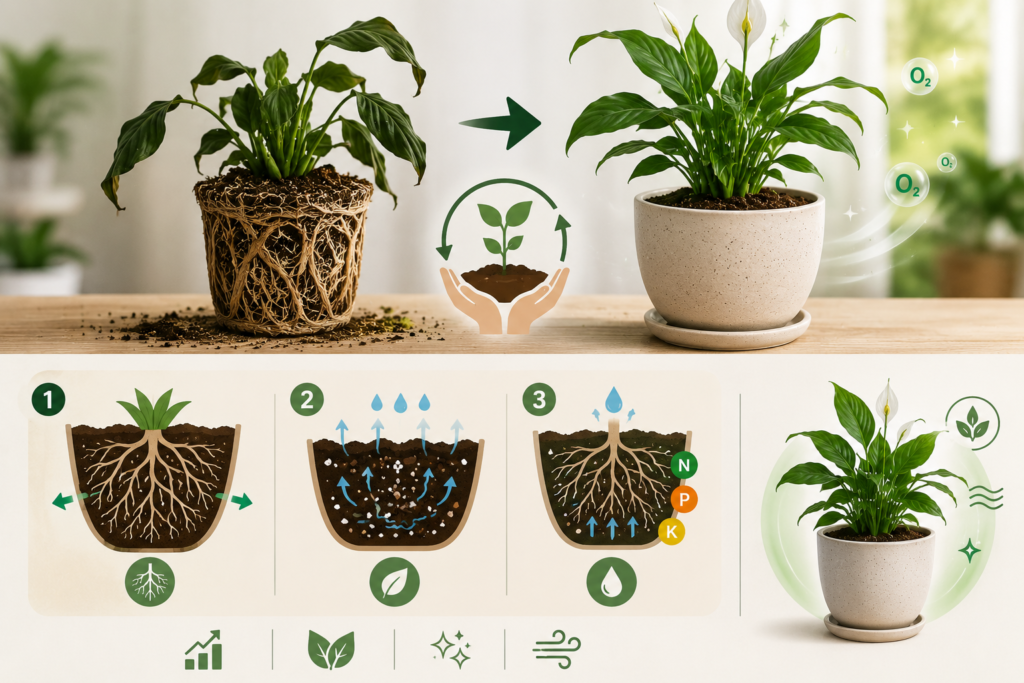
💡 “It’s Not Just a New Pot — It’s a New Life” — Why Repotting Actually Matters
Some believe repotting just means giving a plant a bigger pot. Actually, it does much more.
Over time, roots fill the pot, crowding out new growth. Soil compacts and loses nutrients, so roots can’t breathe or absorb water. Plants like Peace Lily or Snake Plant suffer and lose their air-purifying ability when rootbound.
Repotting does three things at once:
- Gives roots space to expand and grow stronger
- Refreshes the soil with new nutrients and better aeration
- Resets the plant’s ability to absorb water and fertilizer efficiently
Think of repotting as a reset. With good care, a plant in fresh soil grows faster, looks lusher, and cleans indoor air better.
🏺 “Not Every Pot Deserves Your Plant” — Picking the Perfect New Home
Choosing the correct pot is a frequent challenge for beginners. Follow these tips:
Size: The 2-Inch Rule
Always go one size up—about 2 inches wider. A pot that’s too large can cause root rot from excess moisture.
Material: What Works Best in Indian Homes
| Pot Type | Best For | Watch Out For |
| Terra cotta | Most indoor plants | Dries out faster — water more often |
| Plastic | Moisture-loving plants | Poor breathability |
| Ceramic/Glazed | Decorative display | Heavy; ensure drainage holes exist |
The Golden Rule: Drainage Holes Are Non-Negotiable
No drainage = root rot. If your decorative pot lacks a hole, use a plain grow pot inside as a liner.
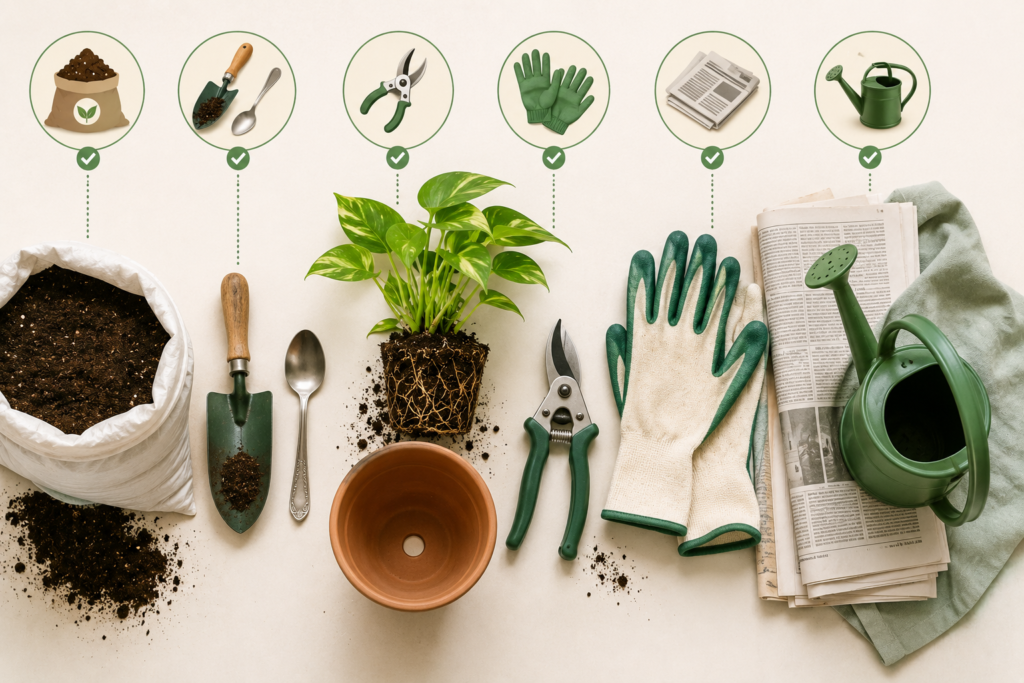
🧰 “Everything You Need — Most of It You Already Own” — Toolkit for First-Time Repotters
You only need a few basic items for repotting: a new pot with drainage holes to prevent root rot, fresh potting mix suited to your plant, a small trowel or even an old spoon to scoop soil, clean and sharp pruning shears or scissors for trimming roots, gardening gloves to keep your hands clean, a newspaper or old bedsheet to protect your floor, and a watering can for easy watering. All of these are basic supplies and often already in your home.
- ✅ Fresh potting mix (more on this below)
- ✅ A small trowel or old spoon
- ✅ Pruning shears or scissors (clean and sharp)
- ✅ Gardening gloves
- ✅ A newspaper or old bedsheet (to protect your floor)
- ✅ A watering can
Budget tip: You’ll find most essentials locally or online for under ₹500.
🌍 “Garden Soil Will Kill It — Here’s What to Use Instead” — Choosing the Right Growing Mix
Garden soil compacts and stays wet, suffocating indoor roots.
The Best Growing Media Options for Indian Conditions
| Media | What It Does | Best Mixed With |
| Potting mix | Ready-to-use base soil | Cocopeat + perlite |
| Cocopeat | Retains moisture, lightweight | Potting mix (50/50) |
| Perlite | Improves drainage and aeration | Any mix (20–30%) |
| Vermicompost | Adds natural nutrients | Potting mix (10–20%) |
Recommended mix for most Indian indoor plants:
50% potting mix + 30% cocopeat + 20% perlite
This mix fits India’s weather, preventing waterlogging during monsoons and keeping roots airy in dry months.
🌿 Pro Tip: Fresh potting soil comes with limited nutrients that deplete within 6–8 weeks. Once your plant settles into its new pot, it’ll need regular feeding. Read our complete guide → Stop Guessing, Start Growing: The Ultimate Beginner’s Guide to Plant Fertilizer for Indoor Plants to build the right fertilizer routine for your plants.
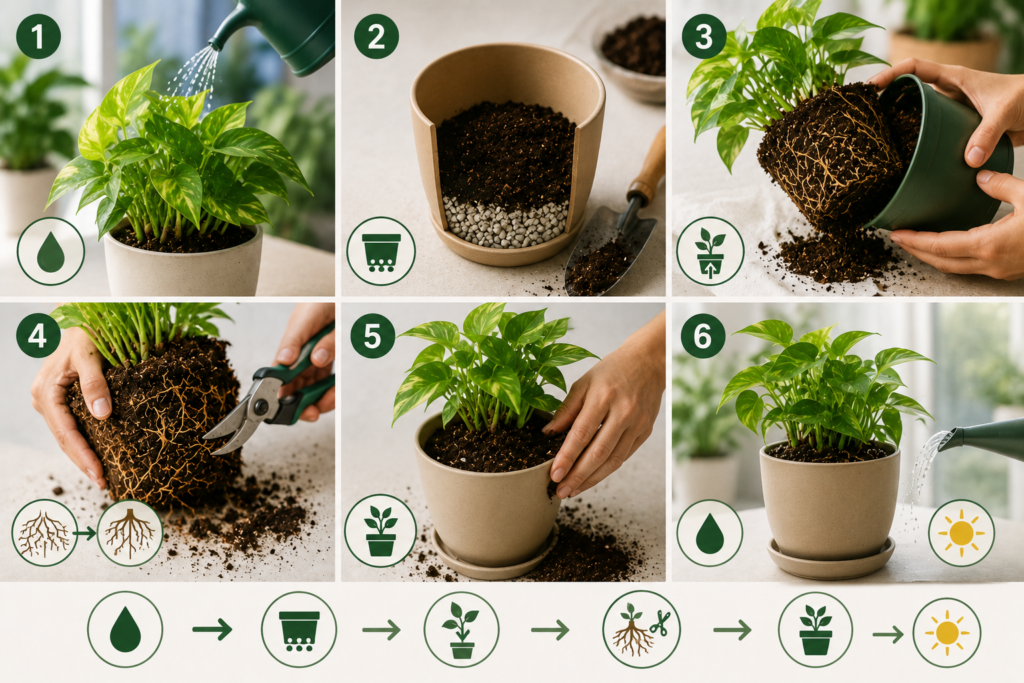
🪴 “Let’s Get Our Hands Dirty — The Right Way” — Step-by-Step Repotting Guide
Follow these steps carefully, and your plant will move into its new home without drama.
✅ Step 1: Water Your Plant 24 Hours Before
A well-hydrated plant is easier to remove and better able to handle stress. Don’t repot a completely dry or bone-dry plant.
✅ Step 2: Prepare the New Pot
Add a small layer of perlite or gravel at the bottom for drainage. Then add a few inches of your potting mix.
✅ Step 3: Gently Remove the Plant
Tip the old pot to the side, support the plant’s base with one hand, and gently squeeze or tap the pot to loosen it. Slide the plant out — never yank it by the stem.
✅ Step 4: Inspect and Trim the Roots
Shake off excess old soil. Look for:
- Brown, mushy roots → trim these off with clean shears
- Tightly coiled or circling roots → gently loosen them with your fingers
✅ Step 5: Place, Fill, and Press
Place your plant in the new pot. Fill with fresh mix, press gently, and leave 1–2 cm for watering.
✅ Step 6: Water Thoroughly and Find the Right Spot
Water deeply until it drains from the bottom. Place the plant in bright, indirect light — avoid direct, harsh sunlight for at least 2 weeks post-repotting.
🌏 “Repotting in India: The Local Secrets No One Tells You” — Regional Tips for Indian Gardeners
India’s diverse climate makes repotting a slightly different game. Here’s what to keep in mind:
Best Times to Repot
- February–March (Pre-monsoon): Ideal — the growing season is just beginning
- September–October (Post-monsoon): Good second window as temperatures cool
- Avoid: Peak summer (May–June) and heavy monsoon months — heat stress and overwatering risk are both high
Monsoon Warning
During the monsoon, even a well-draining mix can stay wet too long. Reduce watering frequency and elevate pots slightly to improve drainage.
Combat Repotting Stress with Epsom Salt
Transplant shock is real—especially in India’s heat. Dissolve a little Epsom salt in water and use it for the first post-repotting drink to ease root stress, as magnesium supports root growth and chlorophyll production.
🛒 Buy Epsom Salt for Plants Online — trusted by Indian gardeners for faster post-repotting recovery.
❌ “The 7 Blunders That Kill Plants After Repotting” — Mistakes Every Beginner Must Avoid
Knowing what not to do is just as important as knowing the right steps.
- Going too big with the pot — oversized pots hold excess moisture and cause root rot
- Overwatering right after repotting — once is enough on day one; then let the soil dry slightly before the next watering
- Using garden soil — it compacts indoors and suffocates roots
- Repotting a sick or stressed plant — address disease or pest issues first
- Skipping root inspection — diseased roots will ruin the fresh pot too
- Placing it in direct sunlight immediately causes leaf burn and wilting
- Fertilizing too soon — wait at least 4–6 weeks before feeding; the fresh soil already has nutrients
🔗 When you’re ready to fertilize: Learn the exact timing, types, and dosage in our guide → Plant Fertilizer for Indoor Plants
🌿 “The First 30 Days After Repotting — Your Plant Recovery Playbook” — Post-Repotting Care Guide
The first weeks after repotting matter. Here’s how to help your plant adjust:
Week 1–2: Handle with Care
- Water only when the top inch of soil feels dry
- Keep in bright, indirect light — no harsh afternoon sun
- Don’t fertilize yet
- Expect some leaf droop or yellowing — this is normal transplant shock, not a sign that something went wrong
Week 3–4: Signs of Recovery
- New leaves or visible growth = your plant has settled in ✅
- Resume a normal watering schedule
- Begin feeding with a balanced fertilizer at half-strength
Week 5 and Beyond: Build the Root System
Once stable and growing, feed potassium for strong roots.
🛒 Shop Premium Potash Fertilizer (Red Potash) — professional grade, ideal for strengthening roots after repotting and promoting vigorous growth in indoor plants.
🏆 “Start Here — The Best Plants for Beginners to Repot First”
If you’re nervous about your first repotting experience, start with forgiving, easy-to-grow plants. These are also some of the best plants for beginners and among the top performers for indoor air quality:
| Plant | Why It’s Great | Air-Purifying? |
| Pothos (Money Plant) | Nearly impossible to kill, fast growing | ✅ Yes |
| Spider Plant | Tolerates neglect, propagates easily | ✅ Yes |
| Peace Lily | Signals thirst by drooping (helpful for beginners!) | ✅ Yes |
| Snake Plant | Thrives in low light, minimal watering | ✅ Yes |
| ZZ Plant | Drought-tolerant, very forgiving | ✅ Yes |
All five are among the best indoor plants for air quality and are widely available at Indian nurseries and online. Repot any of these following this guide, and you’ll build the confidence to tackle any plant in your collection.
✅ Conclusion: “Your Plant Didn’t Come with a Manual — But Now You Have One”
Repotting is easy with the basics: the right pot, soil mix, and a little care. Your plant will thrive.
The journey doesn’t end here, though. A freshly repotted plant needs proper nutrition to truly flourish. Your next step is building a solid fertilizer routine.
🔗 Read Next: Stop Guessing, Start Growing: The Ultimate Beginner’s Guide to Plant Fertilizer for Indoor Plants
🛒 Shop Trusted Plant Care Products
All products mentioned in this article are available from Surekha Agro Products — trusted by Indian gardeners for quality plant nutrition.
⭐ Visit Our Amazon Store — Verified seller. Genuine products. Delivered across India.
❓ Frequently Asked Questions (FAQs)
Q1. How do I know if my plant needs repotting?
Look for roots growing out of the drainage holes, water draining too quickly without being absorbed, unusually fast soil drying, and stunted growth despite regular care. If two or more of these signs are present, it’s time to repot.
Q2. When is the best time to repot plants in India?
The best windows are February–March (pre-monsoon) and September–October (post-monsoon). Avoid repotting during peak summer heat or heavy monsoon months, as both extremes add unnecessary stress to the plant.
Q3. What soil should I use for repotting indoor plants?
Never use plain garden soil indoors. The best mix for most Indian indoor plants is 50% potting mix, 30% cocopeat, and 20% perlite. This gives the right balance of moisture retention, drainage, and aeration.
Q4. How much bigger should the new pot be?
Go just one size up — about 2 inches wider in diameter than the current pot. A pot that’s too large retains too much moisture, increasing the risk of root rot.
Q5. My plant looks droopy after repotting — is something wrong?
Not necessarily. Slight wilting or leaf droop for 3–7 days after repotting is completely normal and is called transplant shock. Keep it in indirect light, water lightly, and avoid fertilizing. Most plants bounce back within 1–2 weeks.
Beginner-Friendly Indoor Plants You’ll Actually Keep Alive
Recommended products
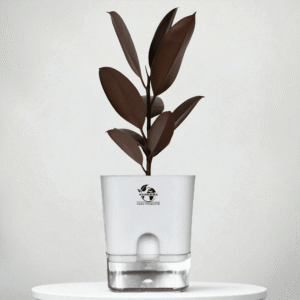
-
Surekha Ficus Elastica Red Rubber Plant for Indoor
Price range: ₹269.00 through ₹399.00 -
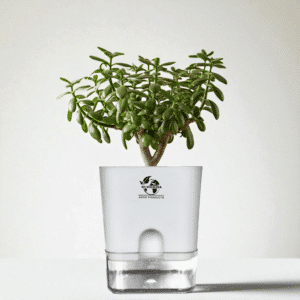
Surekha Jade Plant Indoor
Price range: ₹269.00 through ₹399.00 -
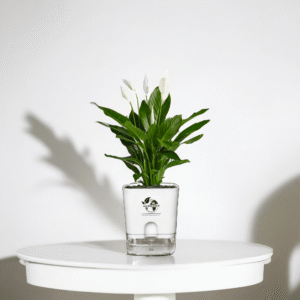
Surekha Peace Lily Live Indoor Plant
Price range: ₹189.00 through ₹399.00 -
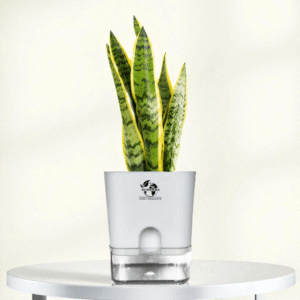
Surekha Sansevieria Laurentii Snake Plant
Price range: ₹249.00 through ₹399.00 -
Surekha Sansevieria Superba Snake Plant
Price range: ₹269.00 through ₹399.00 -
Surekha Variegated Rubber Plant
Price range: ₹399.00 through ₹499.00 -
Surekha Sansevieria Green Snake Plant
Price range: ₹299.00 through ₹399.00